Visit planning and optimized routes
This article will show you how to add objects to a visit plan, generate an optimized itinerary and create events in the Salesforce calendar from the app.
In this article
- Adding an event to the Salesforce calendar
- Planning an optimized route
- Adding multiple events to the calendar at once
- Creating recurring events
- Managing events
Adding an event to the Salesforce calendar
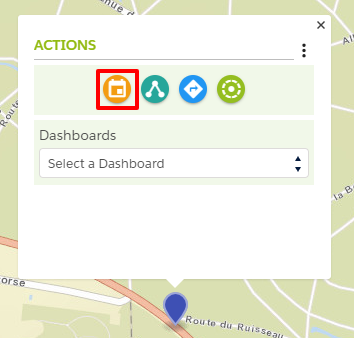
To plan an event related to a record, click on the  icon in the list of actions available for a record.
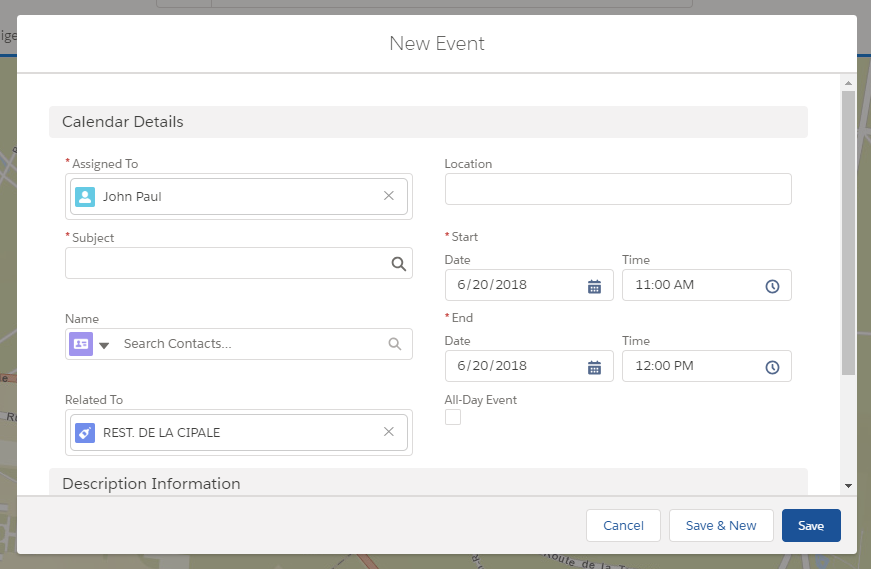
The event creation form appears in a modal window, fill in the mandatory fields to create your event in Salesforce.
Planning an optimized route
The visit planning module lets you add several events to your Salesforce calendar in a single action.
Click on the  icon of the toolbar to display the routing panel.
To add a waypoint, you can:
- Click on the
 icon in the itineray panel to select several waypoints you want to add to your route (it then becomes active and green)
 - Click on the
 icon from the list of actions available for each object
When an object is added to a route, a number appears in the center of its marker.
Several itinerary options are available:
- By car or by walk (optional)
- Route only between records or from the last know position via geolocation
- Optimized route (changes the order of waypoints for the most efficient) or not (keeps the order)
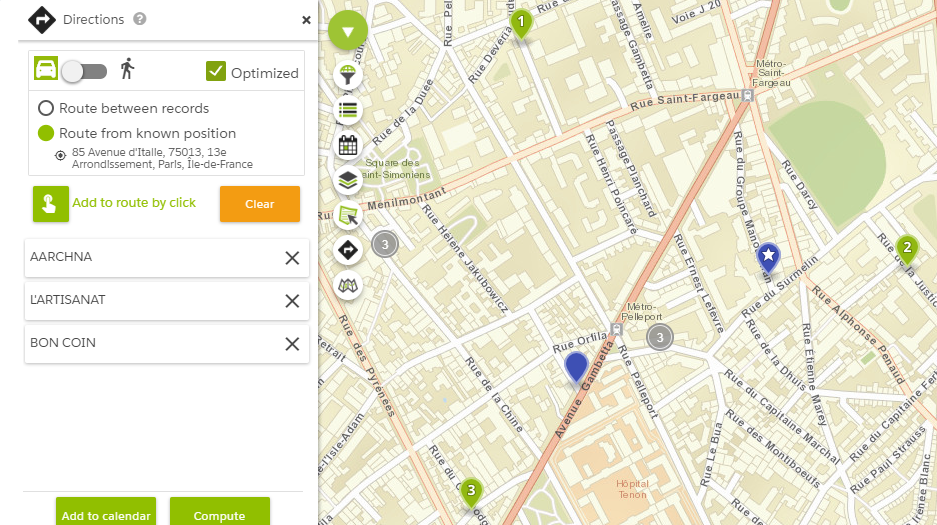
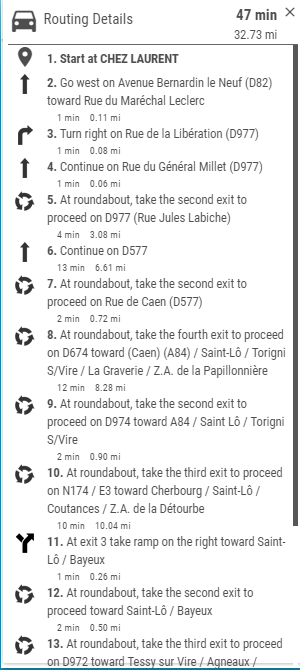
Click the “Compute” button to compute the itinerary. It is shown on the map and a summary appears at the top.

Click on the “Show details” link to display the step by step routing information.
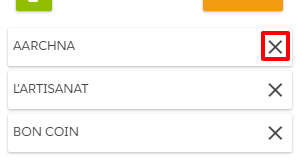
At any time, user can remove a record from the list, click on the cross next to the object name.
Adding multiple events to the calendar at once
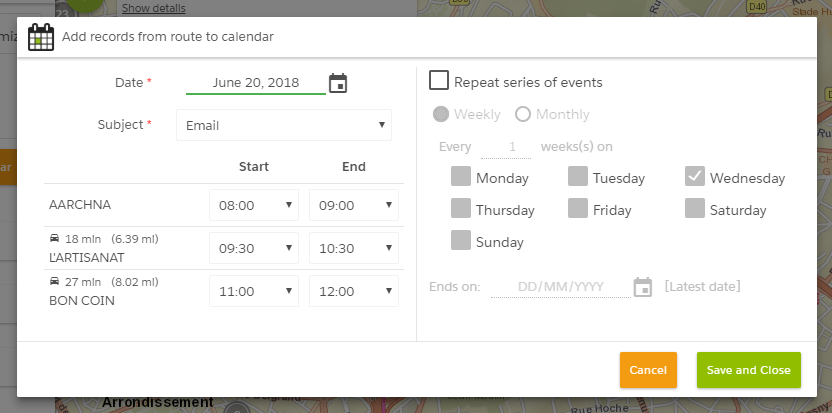
To add all selected objects to your calendar, click “Add to calendar”.
In the modal window choose for the series of events:
- Date
- Subject (the list of event record types is managed in Salesforce)
- Start time
- End time
Please note that:
- The first event starts at 8am by default
- Events last 60 minutes by default
- The travel time between two events is rounded up to 15 minutes to take into account the start time of the next one
- A change in the end time of an event automatically changes the start time of the following ones
Creating recurring events
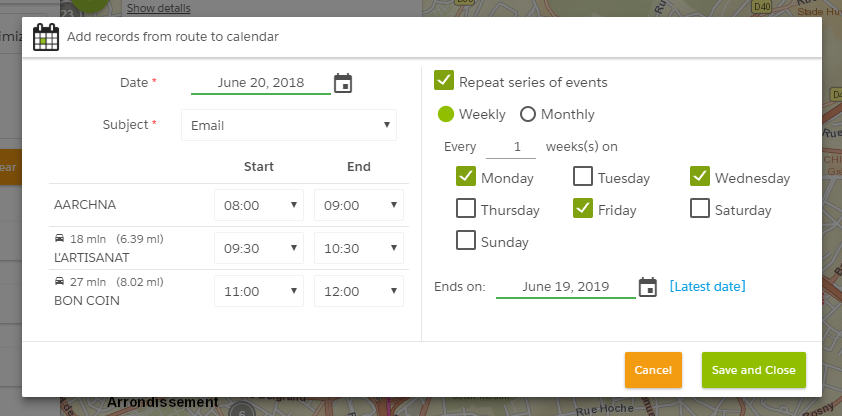
Clicking on “Repeat series of events” allows to make them recurring with a frequency:
Weekly
Choose:
- How frequently they will repeat in weeks
- Which days of the week from Monday to Sunday (several choices possible)
Monthly
Choose:
- How frequently they will repeat in months
- Which day of the week from Monday to Sunday (single choice)
- For the day of the week, if it is the 1st, 2nd, 3rd, 4th or last of the month
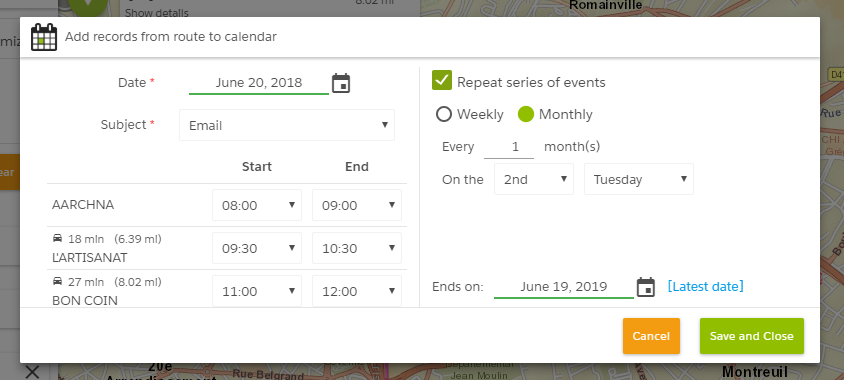
A click on the link “[Latest date]” automatically calculates this date by taking into account the following constraints:
- Weekly: End Date = (Current Date) + 52 * Interval (in weeks)
- Monthly: End Date = (Current Date) + 60 * Interval (in months)
In the Galigeo calendar, recurring events can be identified thanks to the ![]() icon (same in the mobile app).
icon (same in the mobile app).
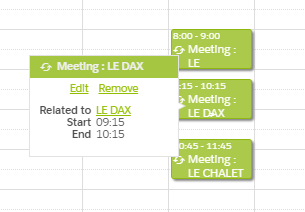
Same in the Salesforce calendar.
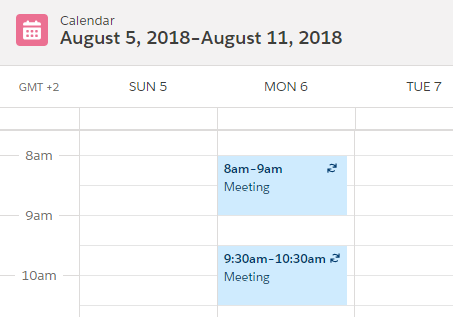
Managing events
To open the calendar, click on the  icon. A full week view is now available on the right of the window and events previously created are displayed:
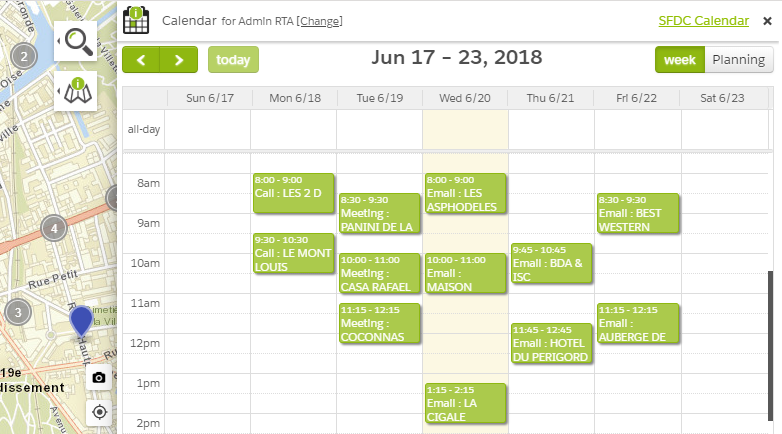
All events are directly movable from there by drag and drop. Their duration is also editable by dragging down the bottom of an event.
A click on a date in the calendar filters all records on the map and in the search record panel and the map centers on them (click again on the date to see all records).
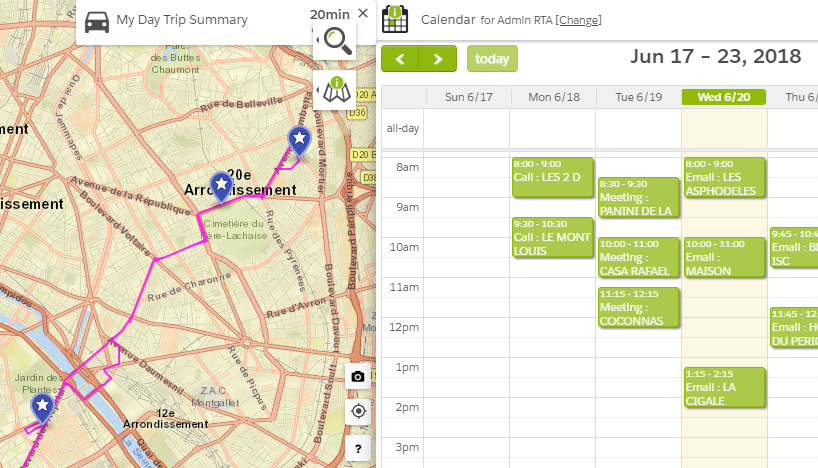
You can know which objects have events. A star  at the center of the marker indicates if there is an event related to it.
Supported events are those of last 30 and next 60 days.
If user wants to see the calendar of another user in its organization, click on the “Change” link at the top in the calendar.

Click to select a user from the list to display their calendar. It is even possible to filter this list by typing in the user input text field.
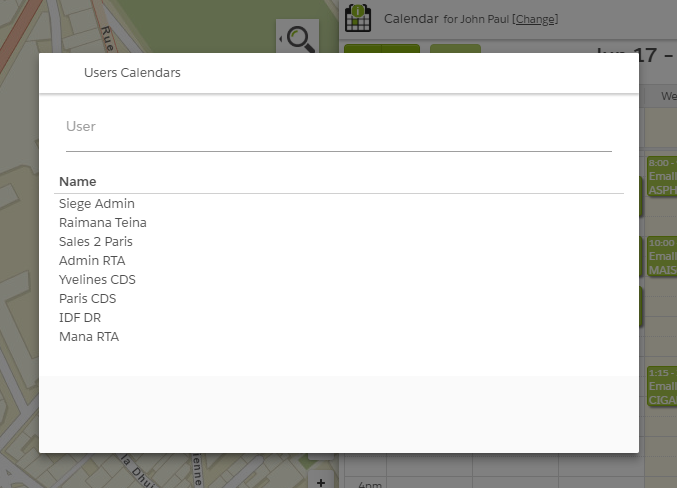
User can create/edit an event for other user if he has enough privileges.