Visit Plans and Optimized Routes
The article will show you how to add objects to a tour plan, generate an optimized routes and create events in the Salesforce calendar from the application.
Add an Event in the Salesforce Calendar
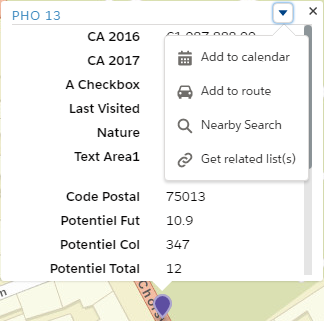
To create an event on a specific object, click on the “Add to calendar” action from the info-window
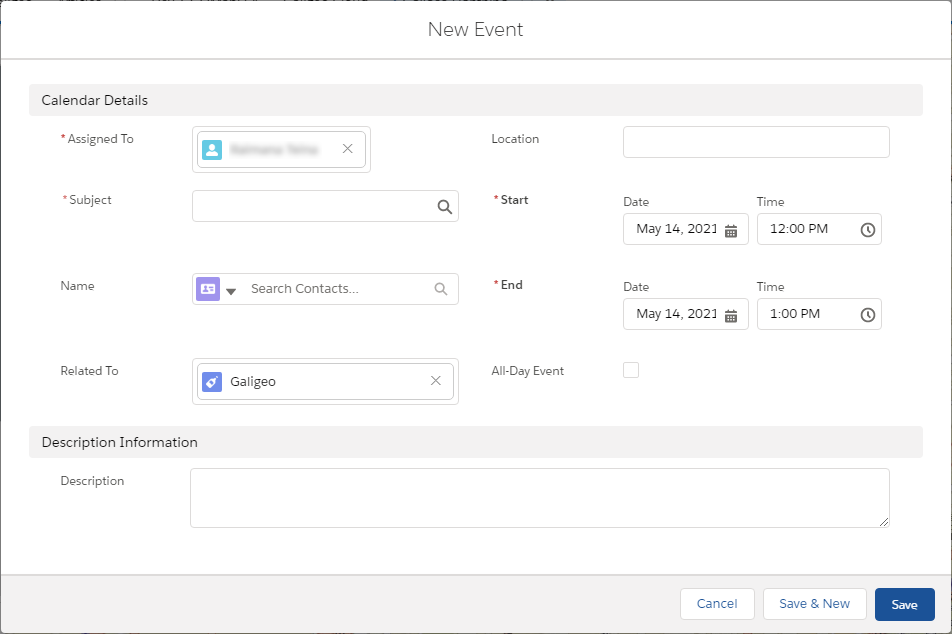
The creation event form appears, then complete the required fields to create your event in Salesforce.
Plan an Optimized Route
With route planning, it is possible to simultaneously add multiple events to the Salesforce calendar.
Click on the icon ![]() in the toolbar to display the route panel.
in the toolbar to display the route panel.
In order to add a point in your route, you can:
- Click on the icon
 in the route panel in order to select several objects by clicking on them (they become active and are highlighted in blue)
 - Click on the “Add a Route” action from the info-window of an object
- or add a list of objects from a working layer
When an object is added to the route, a number is added to the center of the corresponding marker and a preview shows the distance as the crow flies.
Different route calculation options are available:
- by car or on foot (optional)
- Calculated only between objects or from the last known location via geolocation, address search or moving the green icon
 indicating the current location
 - Optimized (modifies the order of the waypoints for the most efficient path) or not optimized (keeps the waypoints order)
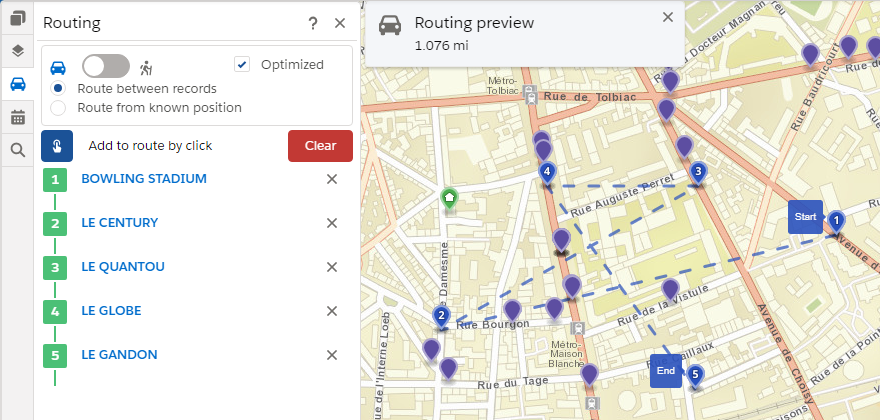
Click the “Calculate” button to calculate the route. The route is displayed on the map and a route summary appears at the top.
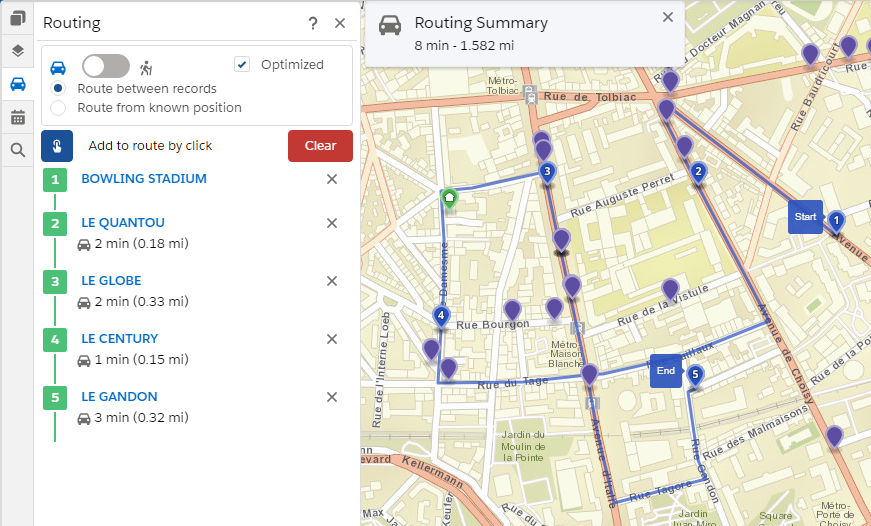
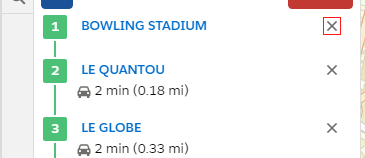
You can remove a point from the route at any time by clicking on the cross to the right of the name of the object.
Add Several Events to the Calendar
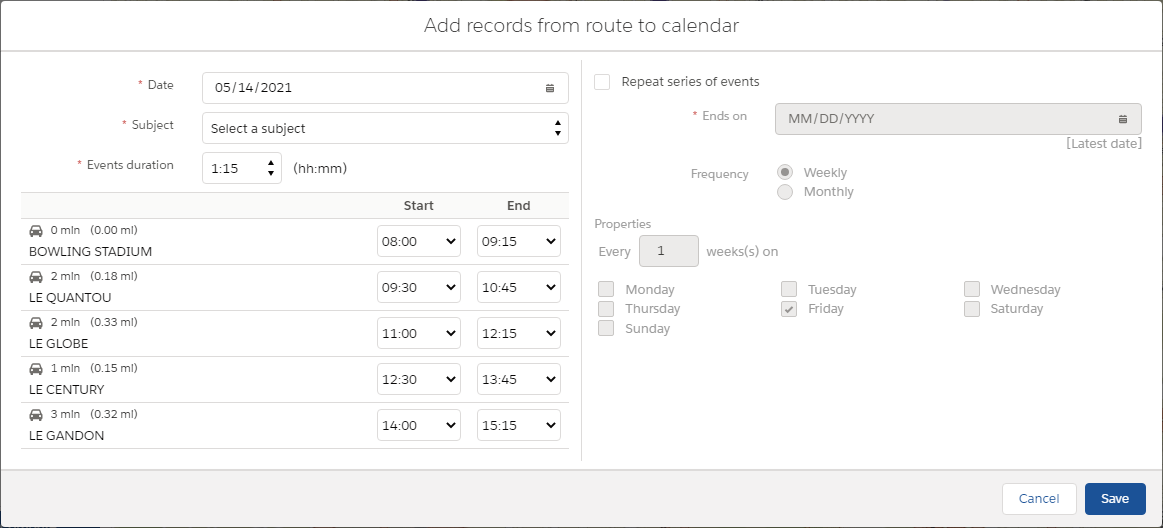
To add all the objects that make up your route, click on “Add to Calendar”.
For all of your appointments, select then:
- The date
- The subject (the list of event recording types is manageable in Salesforce)
- The hour of the first appointment
- The end of the appointment
To note that:
- The first appointment starts at 8 AM by default
- The duration of the appointments is 60 min by default
- The travel time between two appointments is rounded up to the next quarter of an hour to take into account the start time of the next one
- A change of the end time of an appointment automatically changes the start time of the following ones
Create Recurrent Events
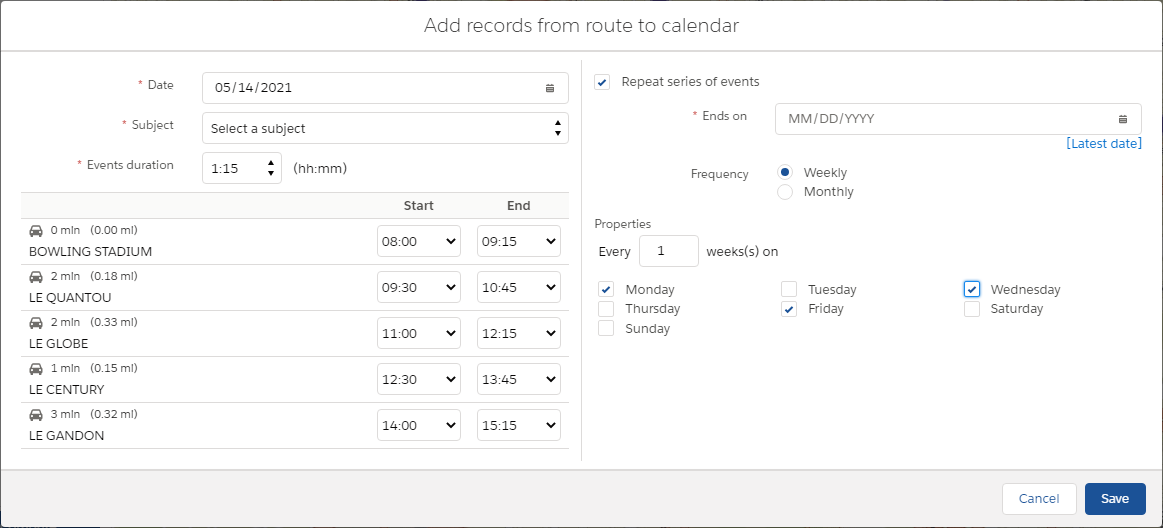
Click on the “Repeat the series of events” allows you to make the events recurring according to a frequency:
Weekly
Choose:
- How often they will repeat in weeks
- Which days of the week from Monday to Sunday (several choices possible)
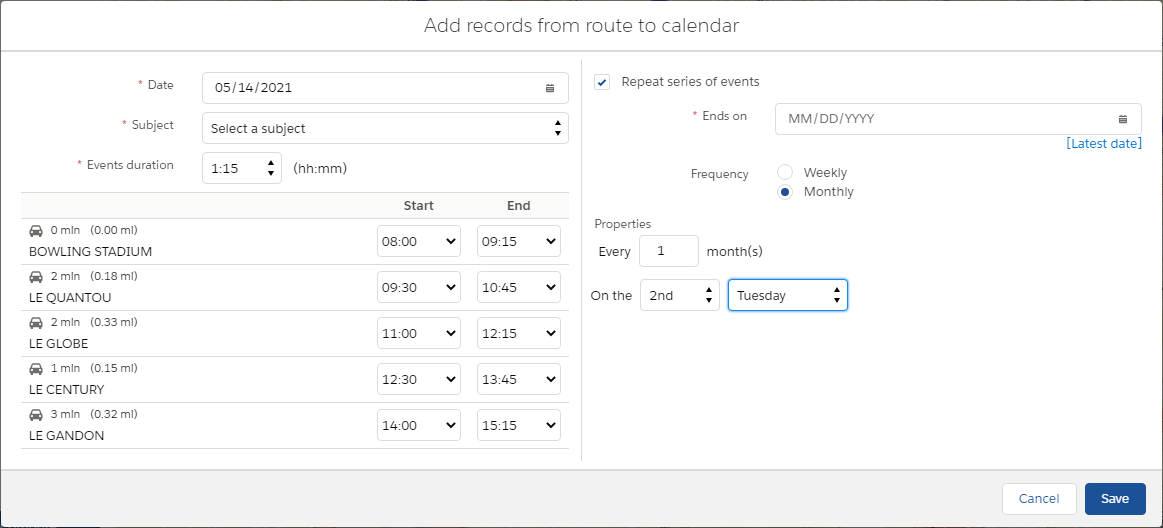
Monthly
Choose:
- The frequency with which they will repeat themselves in months
- Which day of the week from Monday to Sunday (only one choice possible)
- For the day of the week, if it is the 1st, 2nd, 3rd, 4th or last of the month
Clicking on the “[End date]” link automatically calculates this date, taking into account the following constraints:
- Weekly: End date = (Current date) + 52 * interval (in weeks)
- Monthly: End date = (Current Date) + 60 * interval (in months)
In the Galigeo calendar, recurring appointments can be identified by the icon ![]() .
.
Manage the Events
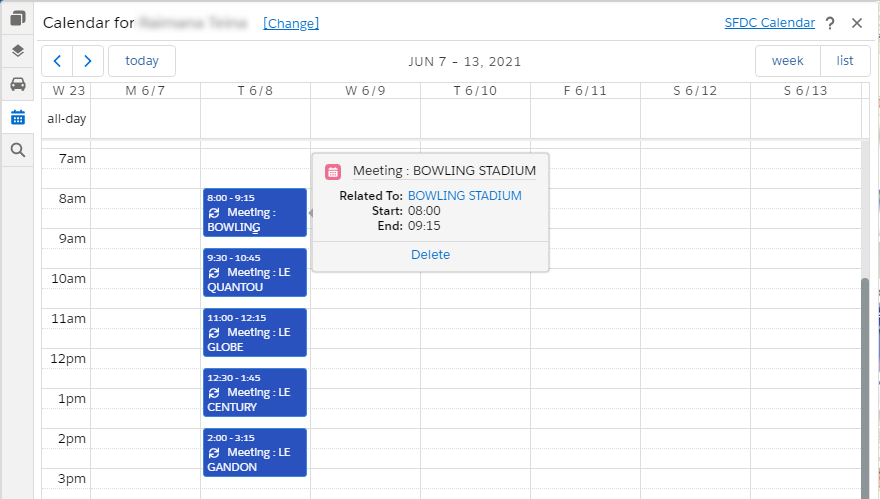
To open the calendar, click on the icon ![]() . A complete view of the week is available on the right of the window and the previously created events appear there:
. A complete view of the week is available on the right of the window and the previously created events appear there:

All the events can be moved directly there by drag and drop. Their duration can also be modified by dragging the bottom of an event.
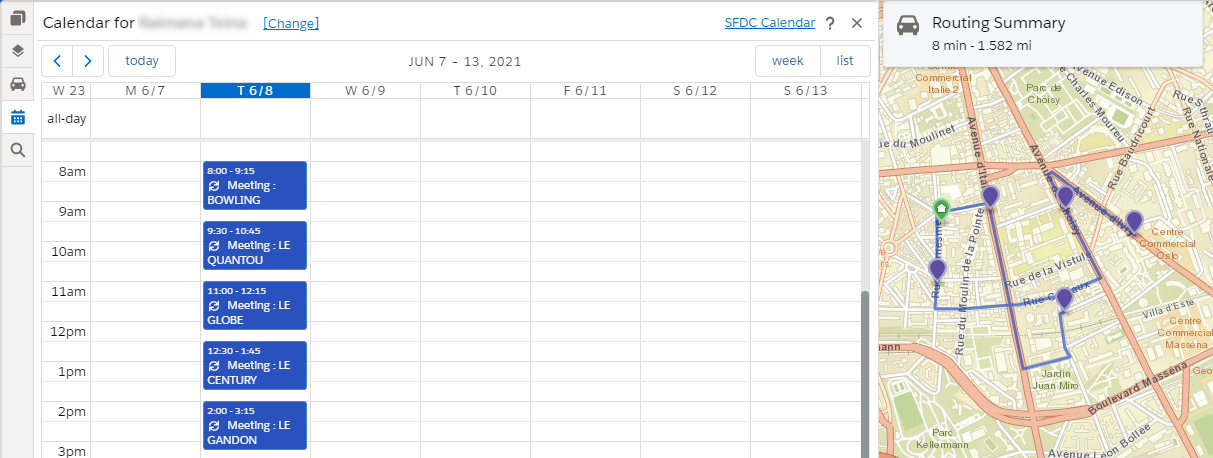
By clicking on a date in the calendar, you filter the map to display only the objects for which there is an appointment on that date. The map will be centered on these points (to cancel the selection click again on the date) and a summary of the tour is displayed.
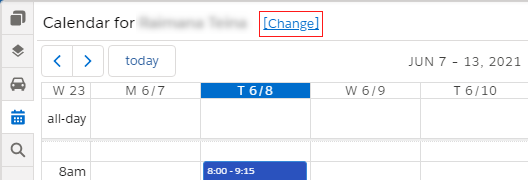
To view a collaborator’s calendar, click on “Change” at the top of the calendar.
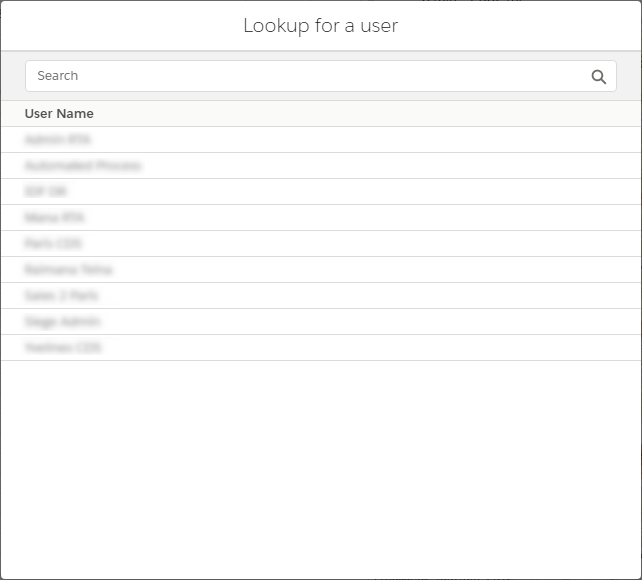
Select a collaborator by clicking on the name, to display the calendar. A search field is also used to filter this list.
If you have the necessary rights, you can create or modify the events of this calendar.