Define a Map Object
When running the application for the first time, the Map Objects tab is empty.

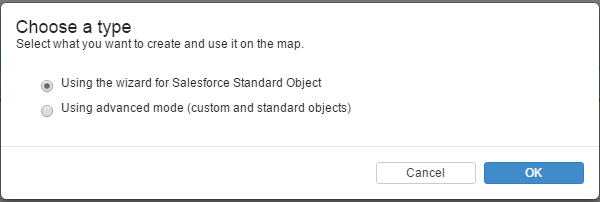
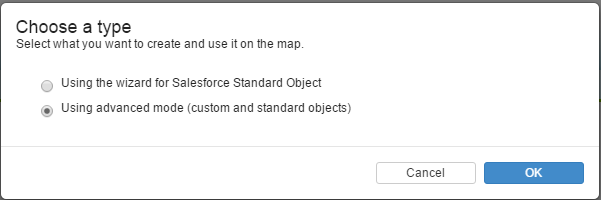
Click on the “New” button, select the option “Using the wizard for Salesforce Standard Object” and then click “OK” to be forwarded to the wizard page:
In this article
- Create a Map Object using the creation wizard
- Create a Map Object using the advanced mode
- Map Object tab description
Create a Map Object using the creation wizard
The creation is in three steps:
- Define a name for the configuration
- Choose which object it is based on
- Defined filters
 Step 1: Map Object Name
Enter a name for your configuration and click the “Next” button

Choose a Salesforce Object & Location field
Cette step allows to fill the geolocation field with latitude and longitude of a set of Salesforce Objects.
For the wizard, there are five options available:
- Accounts:
- BillingAccount : use the billing address
- ShippingAccount : use the shipping address
- Lead
- Contacts:
- Mailing Contact: use the mailing address
- OtherContact : use the other address

Let’s choose to use the “Billing Account” option. Then, user can see the address fields that will be used.
Also, if there is any Geolocation field available on the selected object, user is invited to select the one that will be used to store the geocoding result. If there isn’t such a field, click on the link “Create a new location field” to be fowarded to the Salesforce setup page to add a “Geolocation” field on the object (See the Post installation section to know how to add a custom field of type Geolocation to the Salesforce object).

Select a Geolocation field
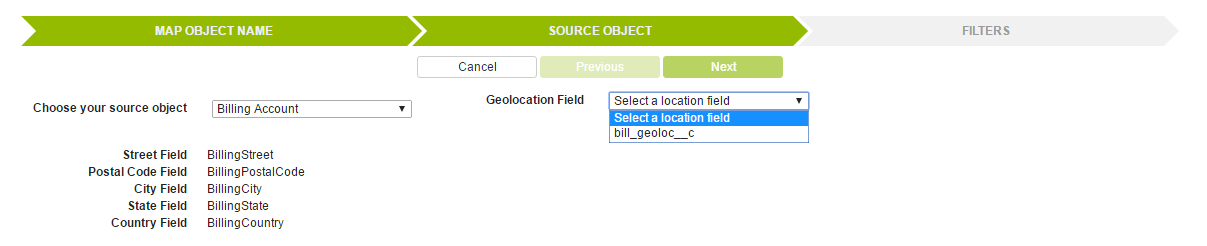
And click “Next”.
3ème étape : Build filters
To build filters, the list shows all the fields of type PickList:
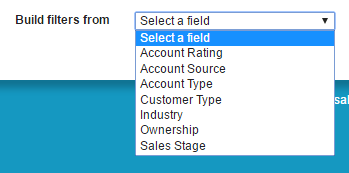
Let’s build filters based on the values of the “Account Type” field:
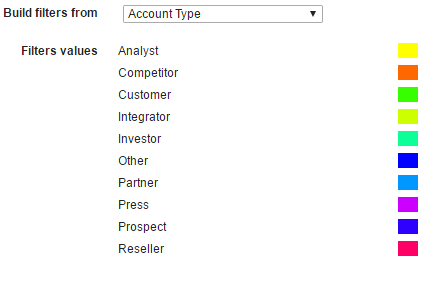
And click “Save” to be redirect to the Map Object Details page:
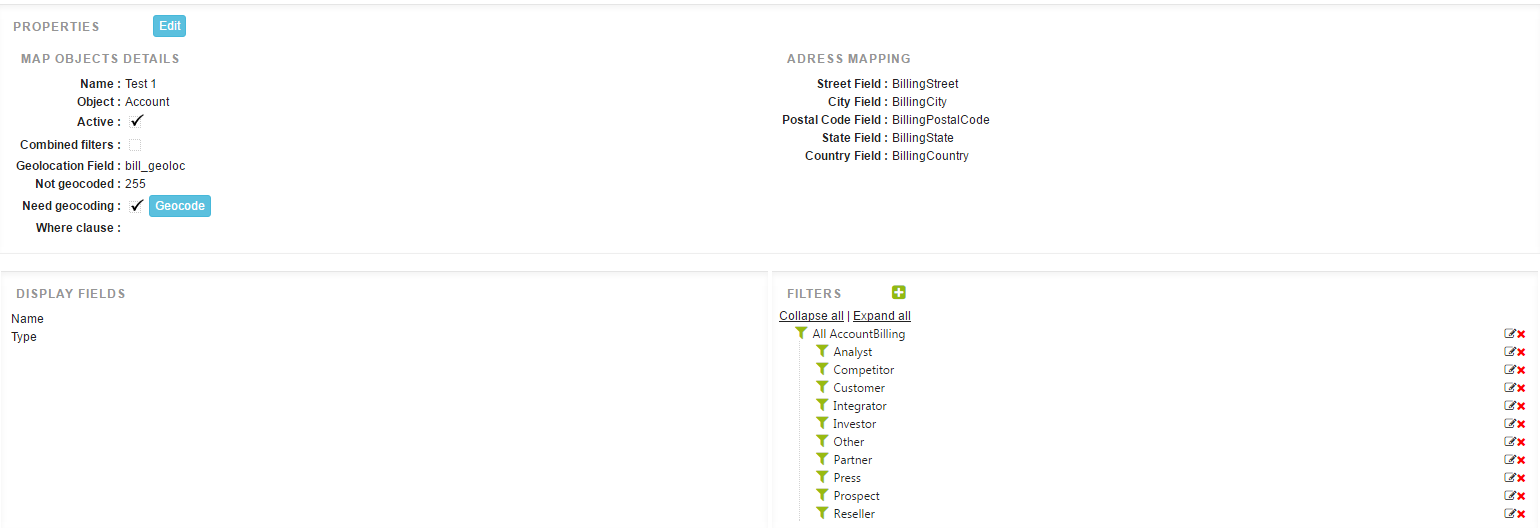
The Map Object details page shows a resume of the configuration:
- Properties:
- Shows information like the name, fields used for the address, geolocation field, how many records need to be geocoded?
- Click on the “Geocode” button to run a batch geocoding (you receive an e-mail when the geocoding finished)
-
Display fields: show fields that will be displayed on the information window.
- Filters: lists of all filters generated from the picklist field.
- For each filter:
 edit the current filter
 delete the current filter
- Click on the
 icon to add a filter (See the Define Geo Fiters section)
- For each filter:
Click on the “Edit” button to modify the “Properties” and the “Display fields” configuration.
User can click on the “Back” button to go to the Admin page or on the “Delete” button if he wants to delete the current configuration.
Create a Map Object using the advanced mode
From the Galigeo Admin page, click on the “New” button, choose the option “Using advanced mode (custom and standard objects)” and click “OK”:
Step 1: Map Object Information
 |
Note: Please refer to the Post Installation section to add a custom field of type Geolocation in the Salesforce object before continuing |
Enter a name and select an object in the drop down list.
Check the active option to allow it to be selected by an end user to build its map.
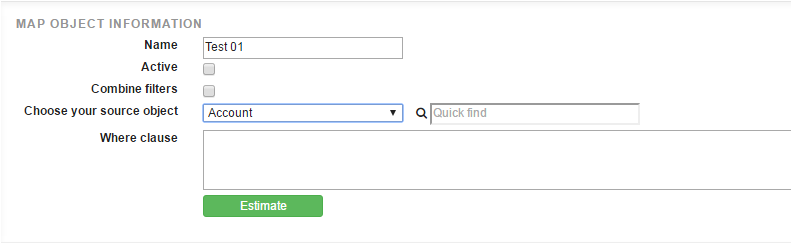
Selecting the “Combine Filters” checkbox will combine filters using combination of logical operators (AND / OR) between filters. It will be explained in the Geo-Filter section.
Each Map Object can have a default where clause that be used for batch geocoding and appended to any Geo-Filter definition. A click on the “Estimate” button informs the number of records the map object will work on.
|
This feature is useful to segment account by regions for example. |
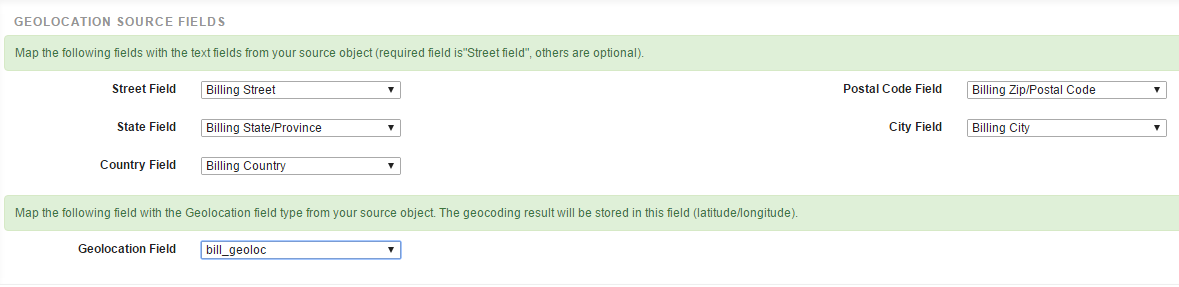
Step 2: Address and geolocation fields
Once Account object is selected, all drop down list of this section are populated with the Account fields.
We named this Map Object “Shipping Account”, so let’s map the fields with the Shipping Address fields of the Account object. Let’s use the field “galigeo__GeoLocation_Ship__c” to store the address geocoding result:
Step 3: Visualization
Now you choose:
- The abbreviation is the field used to be displayed in the map marker. The value will truncated to only one characters. The mark will be displayed on the map like the following image

- the fields, from the available fields list, that will be displayed in the information window:
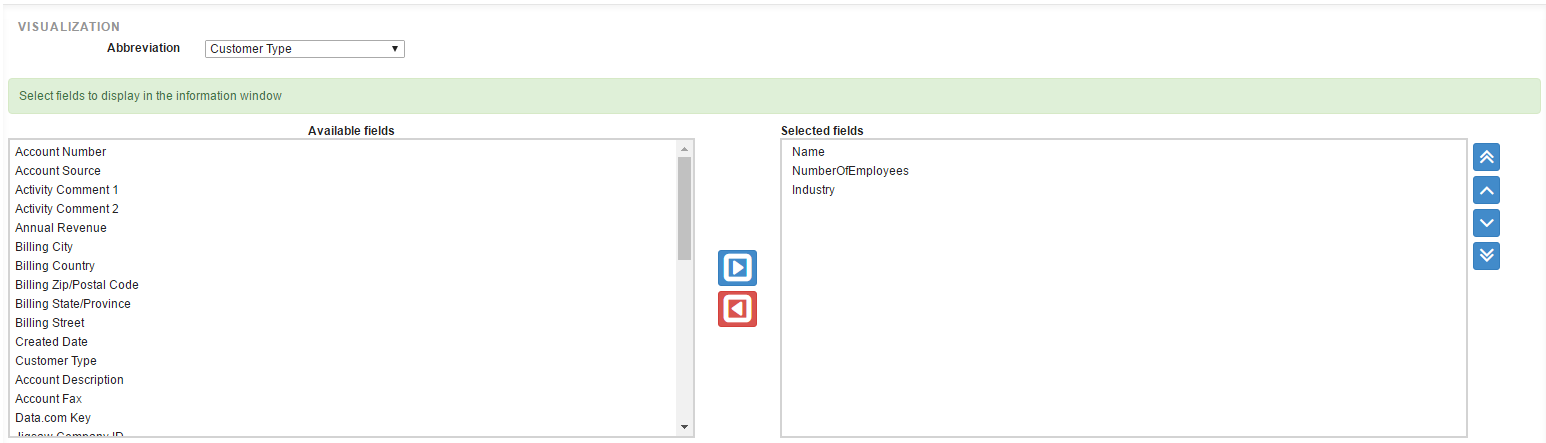
Click on the “Save” button to save these information and be forwarded back to this newly Map object details page.
Map Object tab description
The Map Object tab in the Galigeo Admin page shows all Map Objects group by Salesforce Object.
At the point, we created two map objects based on the Account Salesforce Object: one uses the shipping address, the other one uses the billing address.

 Click on this icon to go to the details page
 Click on this icon to delete the map object.