Creating filters
A Geo-Filter is based on a Map Object and allows to filter data shown on the map by activating them or not.
To add a filter for a given map object, go to the map object details page, and click on the  icon in the “Filters” section to go the filter creation page.

In this article
Create a Geo-Filter
 Enter a Geo-Filter Name
The name is only visible in the administration panel. Enter an easy name to find it in the lookup window. The label is used in the user interface.

 Enter Geo-Filter properties
In this section, we define the Geo-Filter properties:
The symbology use to render the data on the map. Use the lookup icon to select an appropriate symbology.
Click on the lookup icon to display the list of available symbols:

If there is no symbols available, click on the “Create” tab to create a new one.

To define a Symbology, some properties are needed:
- A name
- A color: by default the value is green
- Optionally, an image
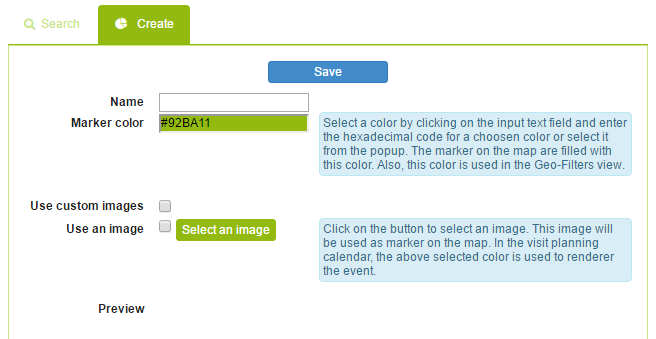
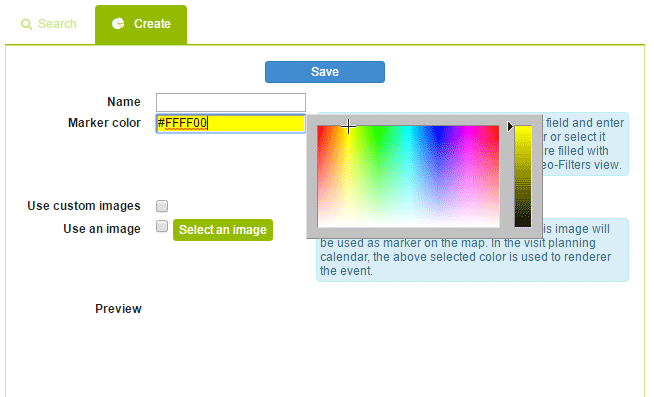
By clicking in the marker color input text, user can edit the color code in hexadecimal or pick a value in a popup.
A symbology can also be an image.
There are two ways to define a symbology using images.
-
The first option is to use an image from the library installed with the app. Click on “Select an image” button to display all available image, choose one by clicking on it.
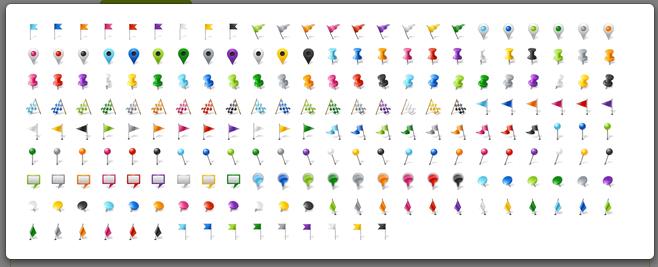
The picked image is used to render the data on the map instead of using the assigned color to fill the marker.
-
The second option is to use custom images uploaded to shared folders in your Salesforce Organization.
a. Upload images
Go the Document tab and click on “Create New Folder”, give a name for the folder (ex: My custom images) and click “Save”
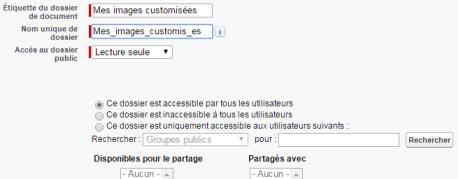
b. Click on “New Document” button
c. Fill the details, check the option “Externally Available Image”, select a file and click “Save” button.
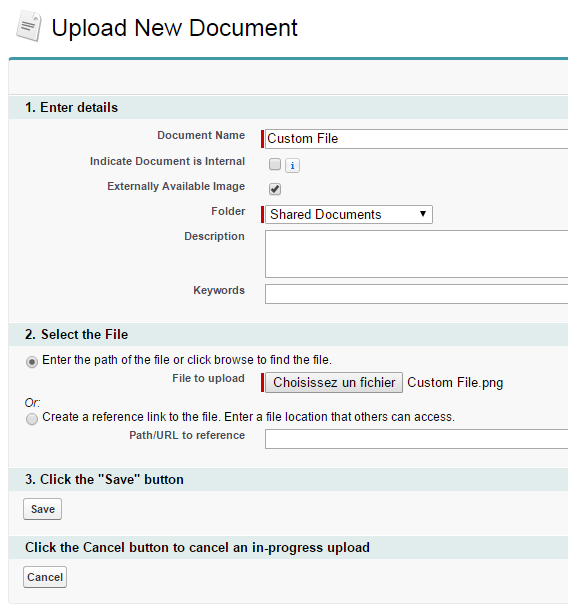

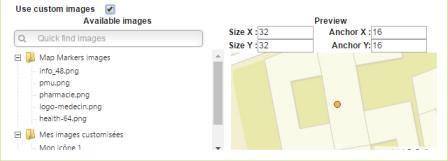
Only PNG image files are supported. d. In the symbol creation popup, check “Use Custom images”. On the left, there are available images grouped by shared folders. On the right, there is a preview.
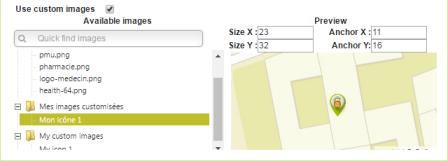
Let’s choose our custom image “My icon 1” by clicking on it. The icon is placed on the map in the right side. Play with size values (x and y) to adapt its size and with anchor values (x and y) to correctly place it from the green circle (with red border) as reference.
Click the “Save” button to save this new symbol.

Back to the “Search” tab, the new symbology called “YELLOW” is now available. Click on it to assign it to the Geo-Filter.

- It’s possible to define a hierarchy between Geo-Filter. In the case the Geo-Filter has a parent, select a previously created geo-filter by clicking on the lookup icon (See Create hierarchical Geo-Filters for more details).
- Select the “Active at startup” checkbox to define if the Geo-Filter will be executed at startup.

 Step 3: Specify Geo-Filter criteria
In this section, we define how to filter the data of the Map Object by adding some criteria. For example, this Geo-Filter selects all Accounts where the BillingCountry field is not empty.

It’s possible to add different criteria by clicking on “Add criteria” link and filling the Filter Logic text field as in the image below.

Select the “Full SOQL condition” checkbox to define your own query selection. Your selection must be made on an Id field like in the example below.
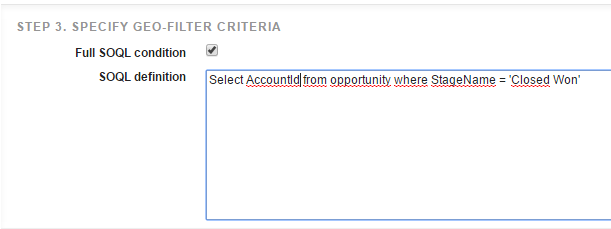
The generated query will used this SOQL query as a subquery in the where clause in order to have a query like:
Select Name
FROM Account
Where Id in (Select AccountId FROM Opportunity WHERE StageName = 'Closed Won')
You can find more information on how to define a Salesforce Object Query Language (SOQL) query.
 |
Query are subject to the Salesforce Governors Limits. Be sure to make the more selective filter to do not reach those limits. |
 |
Using Full SoQL query, you must query Id on other Object. Don’t do: Select Id FROM Account WHERE {A_CONDITION} Because the generated query will be like Select Name FROM Account Where Id in (Select Id FROM Account WHERE {A_CONDITION}) That query statement is not supported by Salesforce. |
 Step 4: Test the filter with its conditions
At any moment, it is possible to test the Geo-Filter with a click on “Test Query” button. It shows the generated WHERE clause and how many records have matched the condition(s).

Click the “Save” button to complete the Geo-Filter creation and get forwarded back to the Map Object details page. The filters section now contains the new filter.

Testing all filters
Click the “Test” button to test all filters.

A message indicates if the test was passed or failed.

In the map interface, the user will see this filter with the data plot with the purple flag as in the image below.

Create hierarchical Geo-Filters
We defined Geo-Filters to see all Accounts where the BillingCountry is not empty.
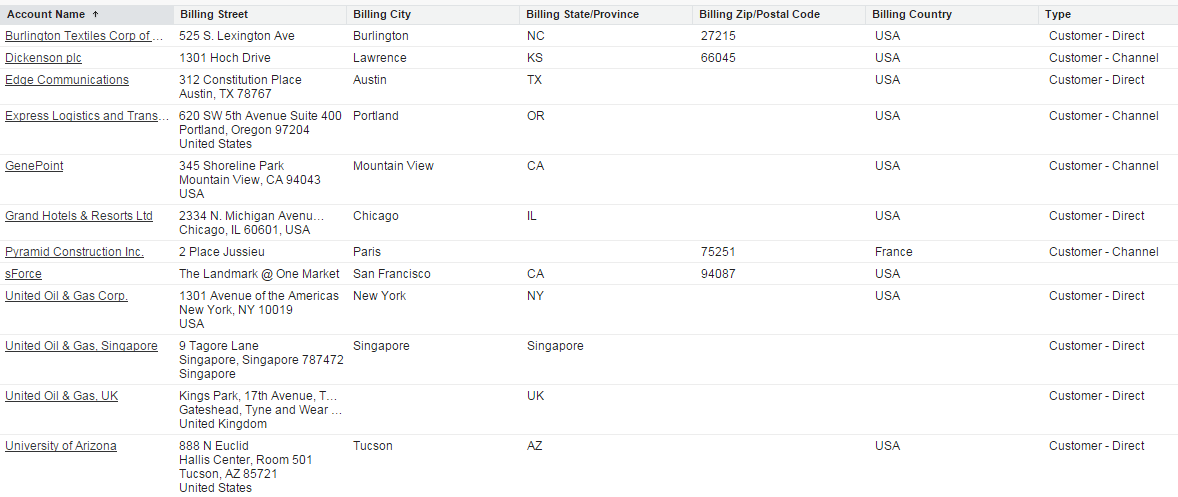
Using the sample data above, let’s build the following Geo-Filters Hierarchy:
- All Accounts
- Inside USA (BillingCountry = ‘USA’)
- Customer - Direct (Type=’Customer - Direct’)
- Customer - Channel (Type=’Customer - Channel)
- Outside USA (BillingCouttry != ‘USA’)
- Inside USA (BillingCountry = ‘USA’)
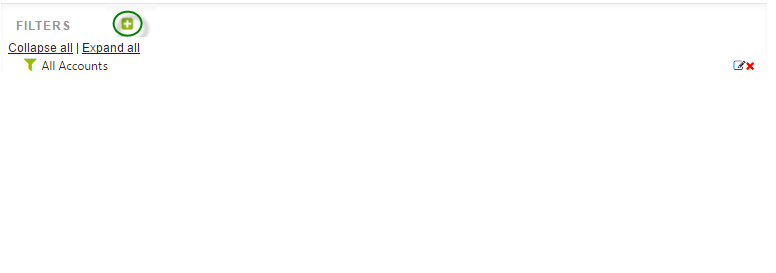
 Step 1: Create “Inside USA” filter
Follow the first steps used to create the first filter:
- Give a name
- Create and assign a new Symbology
We need to define this filter as a child of the first one. Click on the Parent Filter lookup icon

The lookup window lists all filters already defined for the current map object.

Click on the “ALL_ACCOUNTS” filter

Define condition to select only Accounts where the BillingCountry field equals ‘USA’

Test the filter and click “Save”. Back to the Map Object details page, in the filter panel, we have

 Step 2: Create “Inside USA” children filters
Follow the same procedure describe in step 1, and set the filter “Inside USA” as the parent filter.
-
Customer - Direct (Type=’Customer - Direct’)
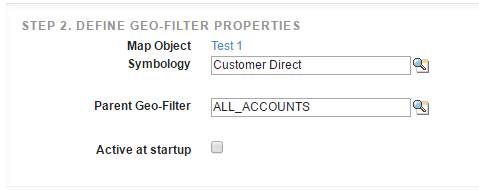

-
Customer - Channel (Type=’Customer - Channel)
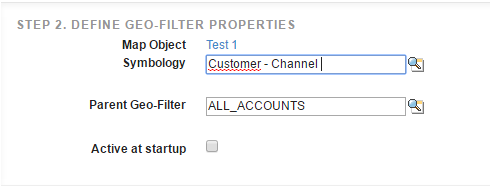

 Step 3: Create “Outside USA” filter
Follow the procedure in step 1 to create the outside USA filter. Define the filter “All Accounts” as the parent filter. And set a condition to select Account where the BillingCountry field is not equals to “USA”.
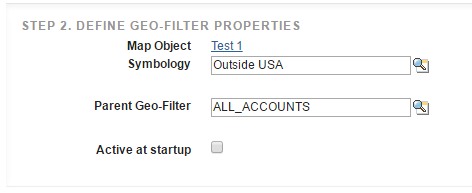

Test the filter and click “Save”.
Back to the Map Object Details page, in the filter panel, there are all our filters displays in a tree structure.

Finally, in the user interface, this hierarchy like a tree view where each filter can be activated independently.
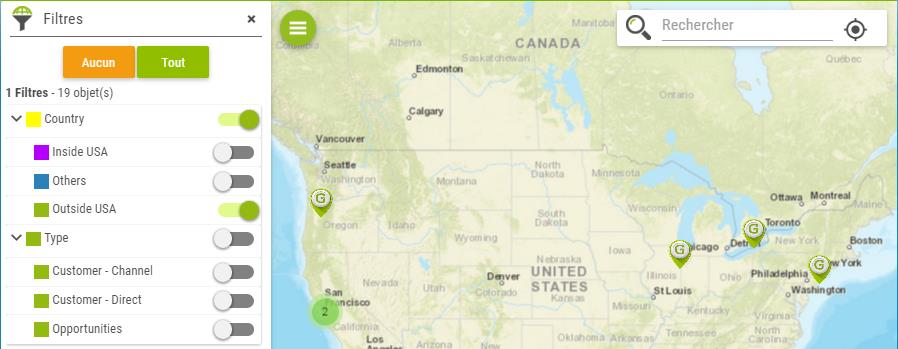
If a symbology is defined as an image, the marker displayed on the map will look like 
Combined Geo-Filter
Let assume we are working on the map object with the “Combine filters” checkbox selected and some hierarchical on the account defined as shown in the image below
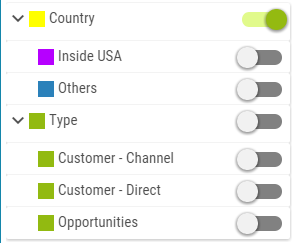
- Country : BillingCountry != null
- Others : BillingCountry!=’USA’
- USA : BillingCountry=’USA’
- Type
- Customer–Channel : Type=’Customer–Channel’
- Customer–Direct : Type=’Customer–Direct’
- Opportunies : a full soql query returning AccountId for Opportunities
The symbologies assigned to the filters in the first block “Country”, will be used to style the marker on the map.
Activating the “Others” and “USA” filters in the first block and the “Customer-Channel” in the second one, will run two queries:
- The first one will return all account where the BillingCountry field is not equals to ‘USA’ and where the type is equals to ‘Customer – Channel’
- The second one will return all account where the BillingCountry field is equals to ‘USA’ and where the type is equals to ‘Customer – Channel’
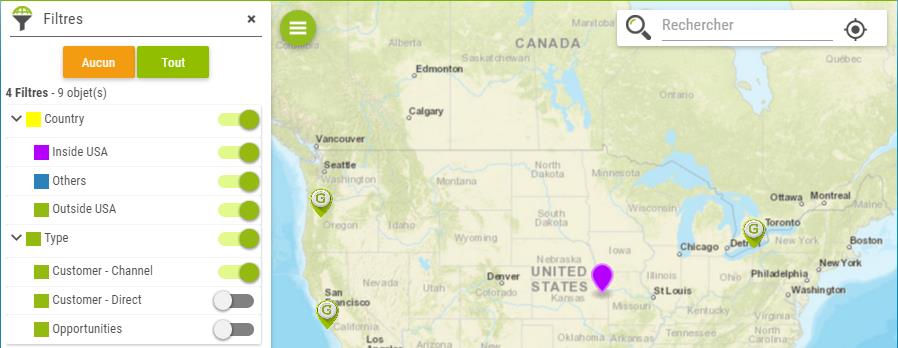
More generally, here is the behavior when having several filters. Let assumes there are the following filters defined and all filters are activated:

What will be displayed on the map will be the result of the three following queries:
- C11 AND (C21 OR C22 OR C23) AND (Cn1 OR … OR Cnx) with symbology of C11
- C12 AND (C21 OR C22 OR C23) AND (Cn1 OR … OR Cnx) with symbology of C12
- C13 AND (C21 OR C22 OR C23) AND (Cn1 OR … OR Cnx) with symbology of C13