Designing Territories
In this article
Selection
Definition
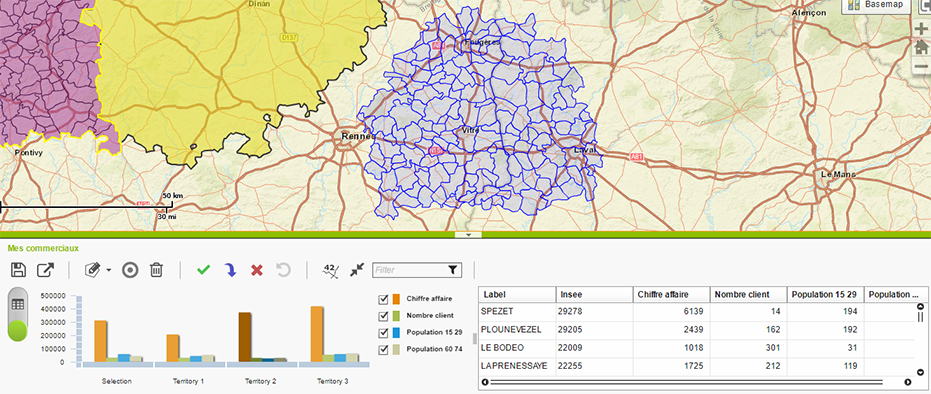
In order to create and redesign territories, one has to previously create a selection. This one is considered like a “virtual” territory. It is a set of sectors and as such is represented like a classical territory:
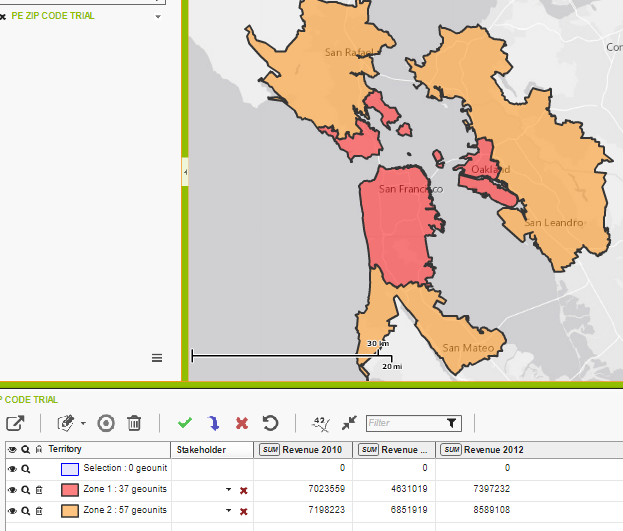
- It is visible on the map (by default in blue), with the sectors details always displayed.
- It is displayed in the territories table, always on the first row. o It is displayed in the graphical view.
- Its content can be viewed in the sectors table.
It has however some notable differences in comparison with a classical territory:
- It can overlap other territories.
- No stakeholder can be assigned to it.
- It cannot be deleted.
Manipulation
In order to update the selection, one has to enter the edition mode by clicking on the button  . In order to exit that, one has to click again on the button or press the ESC key.

This button has actually a double utilization. It serves also to display the actual drawing mode. The arrow close to the button allows the access to two drawing tools available: by circle or by free hand polygon.
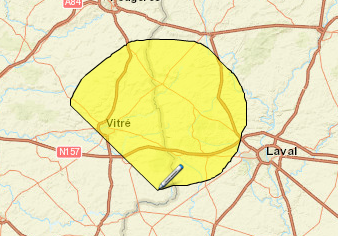
Once in edition mode, it is enough to keep the mouse button clicked on the map to begin drawing and release it to finish. The sectors contained in the drawn circle or polygon form the selection. By keeping the CTRL key pressed during drawing, the sectors are added to the actual selection. By keeping the SHIFT key pressed, they are removed from the selection.
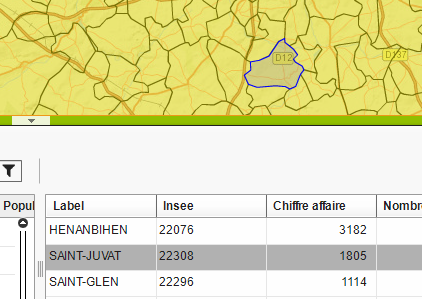
There is another way selecting sectors by using the sectors table. Once in edition mode, the lines from the table can be selected. It is enough to select them in the same manner like on a classic table: simple click to select a row, keep the CTRL key pressed to add another row, keep the SHIFT key to add a whole interval of rows, CTRL-A in order to select everything.
Finally, clicking on the  button in the toolbar allows the clearing of the selection.
Actions
Going from a selection, there are different actions possible on the territories from the toolbar:
Create a territory 
A new territory is created from the selection. It appears thus on the map, in the table and on the graphic. The default color is random. The default name is “Territory n”, where n is the number of existent territories. These two parameters can be later on modified.
When a selection is overlapping one or several existing territories, the following window will be displayed:
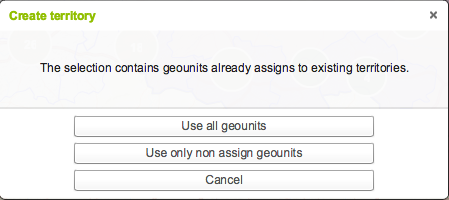
There are two solutions suggested:
- Use all the sectors. The new territory is created from all the sectors contained in the selection. The sectors that belong to another territory will be eliminated from that territory (including the filtered territories).
- Use only the not assigned sectors. Only the sectors that are not assigned to an existing territory are used to create the new territory. The existing territories are not modified (including the filtered territories).
Assign the selection to a territory 
The actual selection is added to an existing territory. If only one territory exists, the selection will automatically added to that one. Otherwise, the following window will open:
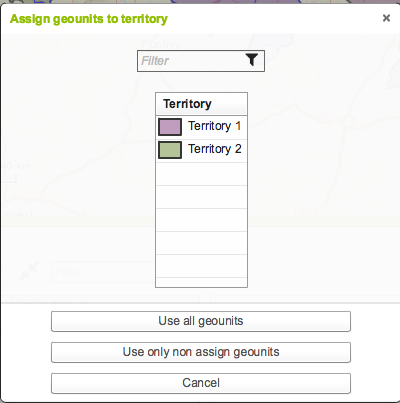
The drop down list contains all the existing not filtered territories. It allows to choose to which territory will be assigned the selection. Similar to the creation of a territory, there are two possible choices:
- Use all the sectors. All the sectors of the selection are assigned to the selected territory. The sectors already assigned to another territory will be extracted from that territory (including the filtered territories).
- Use only the not assigned sectors. Only the sectors that were not assigned to an existing territory are assigned to the selected territory. The existing territories are not modified (including the filtered territories).
This action can also be performed by drag and drop with the mouse between the selected sectors on the map OR the selectors selected in the sectors table and a territory which can be on the map, the sectors table or the graphical view. The table row corresponding to the selection or the graphic of the selection cannot be targets for the drag and drop action. Furthermore, an assignment by drag and drop uses automatically all the sectors of the selection, including those already assigned to an existing territory.
Cancel the territory selection 
The sectors contained in the selection are removed from the existing territories. If a selection overlaps several territories, the sectors are removed from all those territories. A confirmation message will appear before performing the action.
Cancel a redesign
The following button  , uniquely available as an action is about to be performed, allows canceling of the last redesign action of one or more territories. One can also perform the canceling by using the key combination CTRL-Z.
Isochrone
The new territories can as well be created from an isochrone tool integrated to the Territory Management, and accessible by clicking on the  icon.
icon.
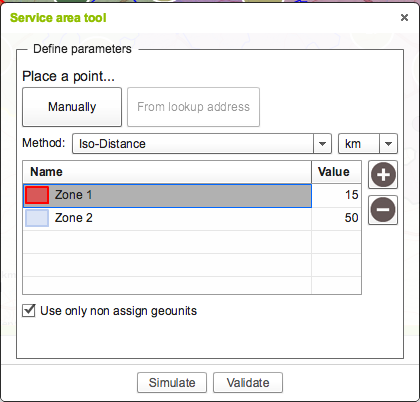
The isochrone tool calculates one or several zones according to different criteria. Those zones are then intersected with the sectors in order to form territories. The parameters to be entered are the following:
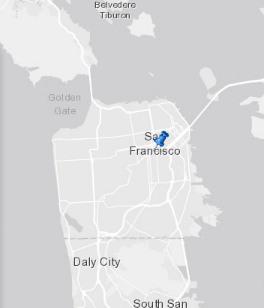
Place a point
That can be done manually: clicking once with the mouse on the map is enough to place the point. If an address was previously searched, it is also possible to place the button exactly on it.
Method
There are three available methods:
- Iso-distance : is a simple geometrical calculation. A circle is calculated from a point and the radius is equal to the values indicated for each zone.
- Sectorization using drive time: these are the sectors accessible by car from the point placed and in the necessary time indicated for each zone
- Sectorization using drive distance: these are the sectors accessible by car from the indicated point to a distance smaller or equal to the values indicated for each zone.
Zones
The table allows to define the calculation zones.
By default, there are three zones. It is possible to add or extract using the buttons  and
and  . One can change their color and name. This name and this color are then used to create the territory, and these parameters can be modified later on in TM. Finally, one has to specify the value for each zone.
For the two iso-distance methods, this value is in kilometers. For the isochrone method, this value is in minutes.
Use only not assigned sectors
If this box is checked, the territories are created only by using the sectors that do not belong to any territory. The existent territories are not modified. If it is not checked, all the sectors will be used. If they belong already to existing territories, they will be previously removed from those territories.
Once all these parameters entered, the button “Simulate” will start a calculation without creating territories. The results are displayed on the map with a symbology slightly different then the existent territories (all sectors are visible and the borders are thicker). One can perform as many simulations as possible.
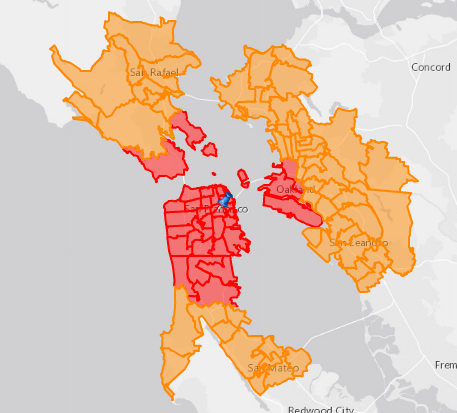
As the result is satisfying, the territories are effectively created by clicking on the button “Validate”.
